Wall Installation Guidelines
Recommended Tools for Installation
- Chalk Line
- Utility Knife
- Straight Edge / Level
- Sanding Block
- Laser Level [Optional]
- Straight Edge/Square
- Caulk Gun
- Diamond Tipped Tuck Point Blade
Recommended Adhesive for Installation
Concreate Wall Adhesive:
Concreate Wall Adhesive is a ready-to-use, high quality sealant-based MS Polymer.
Concreate Wall Adhesive is a strong mounting adhesive that is also well suited for sealing of seams and joints.
Concreate Wall Adhesive is paintable, permanently elastic and has high initial adhesion.
Pre-Installation Preparation
Acclimatization of Wall Panels
It is essential to acclimate your Concreate Wall Panels prior to installation. Providing that site conditions are appropriate before the panels arrive, the panels should be stored in packs prior to installing, in warm dry conditions (i.e. similar to those which will prevail when the space will be occupied is and in use: 45 to 65% RH). The panels should be stored in the room(s) where they are to be installed for a minimum of 36 hours to allow them to acclimate to the ambient temperature and humidity. In order to protect the product, it is recommended that the planks are kept in the packaging until installation commences. NOTE: Please refer to adhesive manufacturer’s spec sheet for recommended temperature range for installation.
Approved Substrates
Concreate Wall Panels may be applied to gypsum board / drywall, plywood, cement board and concrete surfaces. Concrete surfaces must be sound and dry. It is recommended that concrete surfaces be tested to meet the standards of Calcium Chloride Test (ASTM F1869 – 11) or Relative Humidity Test (ASTM F2170 – 11). Concrete surfaces at ground level or below must contain an effective moisture membrane to protect panels from ground water in compliance with U.S. standards.
Preparation of Substrates
Cleaning:
Concreate wall panels must be installed over a flat, dry substrate that has been vacuum cleaned and is completely dust-free. Failure to properly clean the surface may inhibit the adhesive from properly adhering, causing the planks to shift.
Preparation of Substrates
Cleaning:
Concreate wall panels must be installed over a flat, dry substrate that has been vacuum cleaned and is completely dust-free. Failure to properly clean the surface may inhibit the adhesive from properly adhering, causing the planks to shift.
Layout Considerations
Consistently Inconsistent:
Concreate is a natural surface with tonal and color variation. To achieve the desired mix of colors, shades and other characteristics in the final floor, and avoid clusters of similar color shades, the contents of multiple packs should be mixed during installation. Samples must be taken as a guide only and color/shade and other characteristics will vary. Before installation commences rack out a small section of boards for the client approval. This product may include up to 3-5% of boards which do not meet the usual tolerances or grade, which should be defect cut or set aside as waste.
Installation Instructions
Step by Step Wall Panel Installation
NOTE: Before Concreate wall panels can be delivered to the job site, all wet trades (e.g. concrete, plastering, and decorating) must be finished and the building must be weather tight and thoroughly dried out.
The installer is the last line of quality control. DO NOT INSTALL BOARDS WITH OBVIOUS DEFECTS.
1. Open Packages (Take care not to damage corners and edges.)
2. Layout / Composition of Individual Panels (Refer to Pre-installation Preparation ‘Consistently Inconsistent’ section of these guidelines)
3. Snap Points or Layout and Select Starting Point for layout.
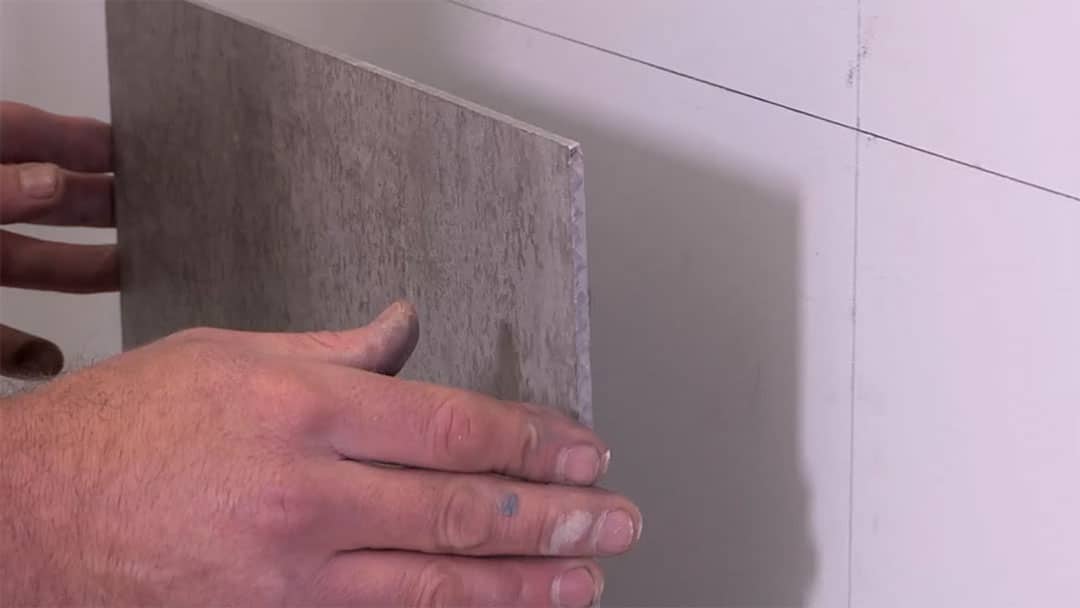
4. Cutting Wall Panels (Utilize the ‘Score and Snap’ method, as shown on the left, or standard construction cutting methods may be employed. See additional information under Safety Recommendations)
5. Sand any ragged Edges with sanding Block
6. Apply Adhesive with a Standard Caulk Gun
7. Place Wall panel (Some adhesives may be more workable than others; be sure to read manufacturers recommended working time before installation.)
8. Repeat Steps with Subsequent Panels, Making Sure to be Careful with Corners and Edges (If necessary, use rubber mallet and rubber tapping blocks to maneuver panels into proper and tight fitment with one another.)
9. Use Fusion Pro Single Component Grout to Fill and Seal Seams Between Panels.
Installation Tips:
When installing wall panels, check occasional panels after placement to ensure that they are fully bonded to the substrate. If loose, a pneumatic nail gun may be used to tack panels into place. Tiny nail holes will need to be filled with Fusion Pro Single Component Grout .
When protecting the installed surface from other trades, apply tape ONLY to the protective material. DO NOT APPLY TAPE DIRECTLY TO THE SURFACE. Applying tape of any kind directly onto Concreate surface will result in damage to the finish. Damage caused by tape application is not covered in our warranty.
Note:
Concreate’s concrete and wood flooring planks may be used together; they have the same thickness, tongue and groove edges, and installation methods.
Patterns may also be rotated ninety degrees to create interesting and dynamic spaces.
Concreate invites designers to be creative in layouts of flooring planks. These suggestions are simply a starting point!
Consistently Inconsistent:
Concreate is a natural surface with tonal and color variation. To achieve the desired mix of colors, shades and other characteristics in the final floor, and avoid clusters of similar color shades, the contents of multiple packs should be mixed during installation. Samples must be taken as a guide only and color/shade and other characteristics will vary. Before installation commences rack out a small section of boards for the client approval. This product may include up to 3-5% of boards which do not meet the usual tolerances or grade, which should be defect cut or set aside as waste.
Safety Recommendations
Cutting Concreate Wall Panels:
Concreate wall panels may be cut either with the Score and Snap method or a saw (wet or dry).
Score and Snap (Shown Left):
1. Score the surface of the panel with a utility knife, using a straight edge as the guide.
2. Place panel along a straight, flat surface with score seam facing up and aligned with the edge.
3. Secure the edge resting on the surface and gently apply pressure to the free, overhanging edge. Panel should ‘snap’ along score-line.
4. Sand any ragged edges with a sanding block prior to installation.
Cutting:
When cutting Concreate wall panels around intricate or detailed objects, a jigsaw or other small hand-held cutting devices may be employed as long as the bit/blade is diamond tipped and intended for use with concrete. Always secure panel to working surface prior to making detailed cuts. It is recommended that any power activated tools be connected to an appropriate dust evacuation system when cutting dry.
Proper Personal Protective Equipment (PPE) must be worn at all times to protect from injury during installation of this product. Personal Protective Equipment (PPE) includes, but is not limited to the following: hard hat, eye protection, ear protection, respiratory protection and work gloves.
Caring for Your Concreate Wall
Post Installation care:
Please see Care and Maintenance Guidelines for the proper way to care for your new Concreate wall panels.

Wall Installation Guidelines [PDF]
Concreate wall Installation